It’s easier than you think; with some essential tools, you can easily remove it. Follow these instructions or download the attachment and print it out at your convenience.
01

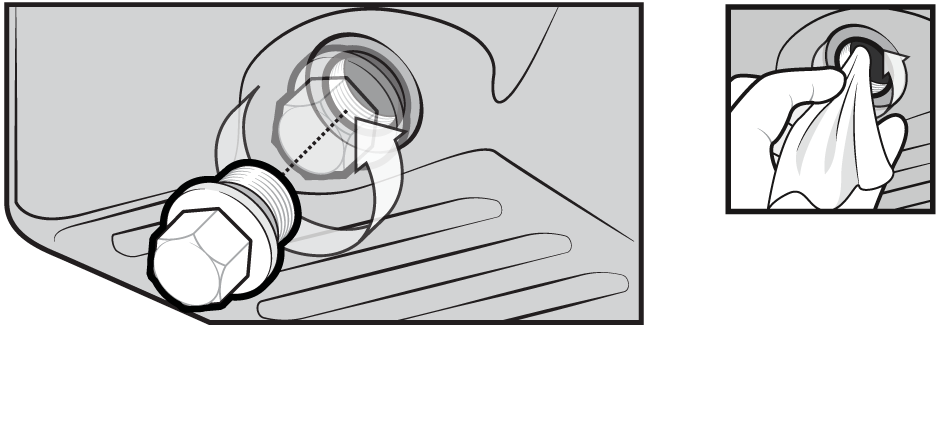
- Remove the factory drain plug by turning counterclockwise.
- Use a clean brush and cloth to clean out pan threads, make sure it is free from debris. If the threads are damaged running a normal sized tap through the threads can help. In most cases this will work without having to retap the drain pan.
02

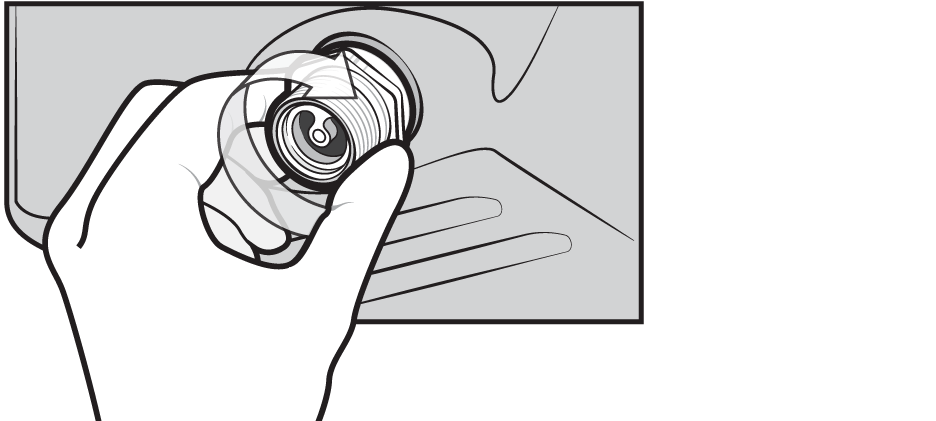
- Hand tread the new No Spill Systems plug clockwise with care to not strip the treads on the drain pan. DO NOT USE POWERED TOOLS.
- The new drain plug should be HAND SNUG.
03

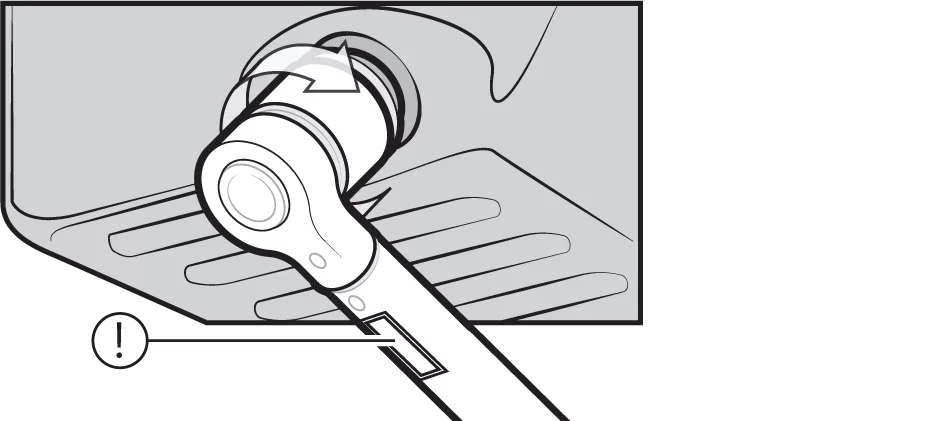
- One the product container is the specified torque specification, use a torque wrench to apply the specified amount of torque wiithout going over the foot pound rating.
- Note: the smaller diameter plugs require very low torque. It is important to use a well-calibrated torque wrench to tighten the plug
to the foot pounds specified on the product’s packaging.
04

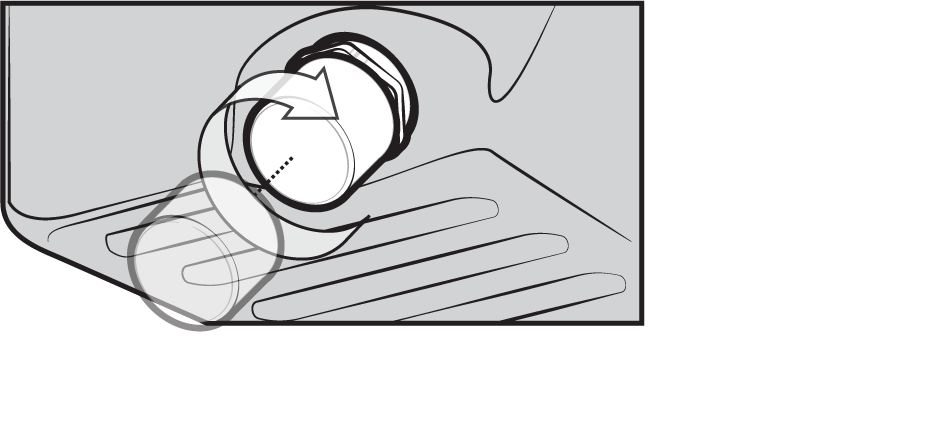
Included with your No Spill Systems drain plug is a drain cap. Install hand snug by screwing on clockwise until secure. DO NOT USE POWER TOOL.
Note: These drain tools will not release oil until the drainer is installed, this releases an internal value to start the flow of oil.